 Rayo PDF GO
How to Convert JPG to PDF for Free, Without Uploading Photos
Someone asks for your document as a PDF, and all you have is a JPG photo in your gallery: your ID, a receipt, a certificate or your kid's homework. Converting JPG to PDF takes a couple of minutes, but a few details decide whether you end up with a readable file or one that gets rejected: page order, size, orientation and final file weight. Here is the step-by-step process with Rayo PDF GO, the most common mistakes, and how to keep your photos private while you convert them.
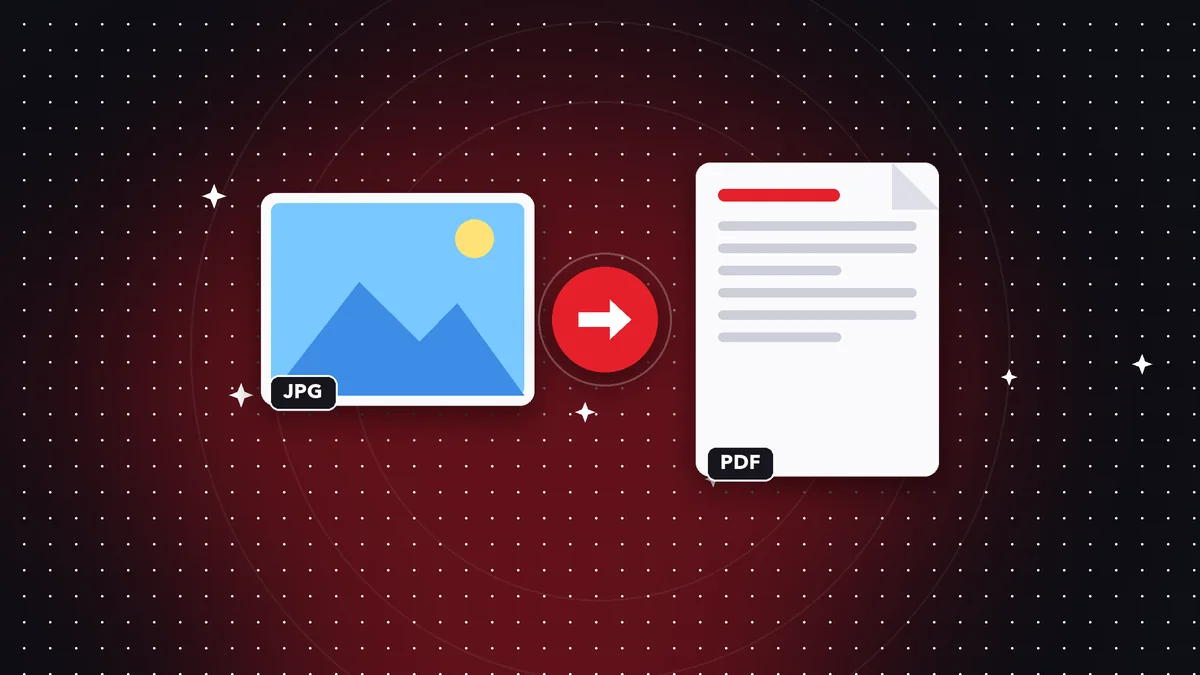

Try it now: Images to PDF
Choose your file and continue in the app. It is processed on your device, never uploaded to a server.
Why it pays to turn a JPG photo into a PDF
A JPG is an image; a PDF is a document. That sounds like a small difference, but in practice it changes almost everything. Government portals, universities and HR departments usually ask for PDF because it opens the same way on any computer, keeps the page size and prints without anything shifting around. A loose photo can look huge, cropped or rotated depending on the program that opens it.
Another reason is organization. If you have six photos for the same application, sending them separately is an invitation to chaos: they arrive in a different order, someone skips one, and the reviewer wastes time. A single six-page PDF travels as one file, with the pages in the order you chose, and it is easier to file or forward later.
Finally, there is compatibility. Many online forms only accept PDF in the attachment field and reject JPG without much explanation. Converting ahead of time saves you the rejection, the wait and having to start over.
How to convert JPG to PDF step by step in Rayo PDF GO
1) Open Rayo PDF GO on the web (rayopdfgo.com/app, with a free account) or in the phone or desktop app, and go to the Images to PDF tool.
2) Select your photos. On your phone you pick them straight from the gallery; on a computer, from the folder where you saved them. You can select several at once, and each image becomes one page of the document.
3) Check the order. Drag the thumbnails until the sequence is right: for example, the front of your ID first and the back second. If a photo is crooked, fix it before continuing.
4) Tap the button to create the PDF and save the result. Open it and flip through every page to confirm everything is readable. The file is generated on your device, so your photos never pass through someone else's server.
Several photos in one PDF: order, orientation and margins
Order is the most common mistake. Galleries sort by date, and if you photographed a multi-page document out of sequence, the PDF will come out just as jumbled. Before creating the file, look at the thumbnails as if they were the pages of a book and move any that are out of place. It is much faster to fix it here than to find out after the reviewer has already received it.
Orientation is the second problem. A photo taken with the phone held sideways and another taken upright will produce pages of different shapes in the same PDF. It is not a disaster, but it looks unprofessional. Try to photograph every sheet in the same position, and if one comes out rotated, fix it before converting or use the Rotate PDF tool afterward to straighten the pages.
As for margins, the ideal is a photo that is already well framed: the whole document, no fingers covering the corners, and a little border around it. Cropping a crooked image later always costs quality. If the document is a printed sheet, lay it on a flat table under even light and shoot straight down from above.
Quality and size: how to avoid a blurry or gigantic PDF
Modern phone photos weigh between 2 and 8 MB each. If you combine ten, the PDF can easily top 30 MB, a size that many portals reject and that email will not let you attach. The solution is not to start with low-quality photos, but to convert well and compress afterward, with control over the result.
Once the PDF is created, run it through Compress PDF and start with a medium level. Open the result and check that small text, stamps and numbers are still legible. If the form asks for a maximum of 1 MB or 2 MB, increase the compression a little at a time, without overdoing it: an unreadable document is worse than a slightly heavier one.
A useful trick: if you are photographing small print, move a bit closer instead of relying on digital zoom. A sharp, well-lit photo compresses very well; a blurry photo does not get better no matter how many times you change format, because conversion cannot add detail the original image does not have.
Common mistakes when converting JPG to PDF and how to avoid them
The first is converting a photo of a screen instead of a photo of the document: screenshots with status bars, notifications or cut-off text. If the original is on your screen, it is better to download it directly as a PDF. The second is overlooking the shadow your own phone casts on the page; move the light source or get closer to a window.
The third is mixing very different sizes in one PDF, such as a huge photo and a tiny one, which produces uneven pages. Try to keep all of them at a similar resolution. The fourth is forgetting about privacy: before sending a PDF with your ID or banking details, think about who it is going to and whether you need to cover up information that is not required.
If you already have the PDF and want to permanently hide a number or an address, there is the Redact PDF tool, available in Premium. Keep in mind that drawing a black rectangle over it in a drawing app does not remove the actual data; permanent redaction does, because it erases the information underneath the mark.
Privacy: what happens to your photos while you convert them
Many conversion sites ask you to upload your files to their servers. For a vacation photo that is a minor detail, but for an ID, a contract or a medical exam it is unnecessary exposure. Rayo PDF GO processes everything on the device itself: the images are read, assembled into the PDF and saved on your device without ever traveling over the internet.
This has an extra practical benefit: it runs faster with large files because there is no upload or download to wait for, and it does not depend on a good connection. If you are in an office with slow Wi-Fi or out in the countryside with limited data, the conversion is not affected.
A good habit, whichever tool you use, is to delete the copies you no longer need from your gallery and downloads folder once the paperwork has been sent. That reduces the risk of someone with access to your phone finding sensitive documents.
Free plan limits and when Premium makes sense
On the free plan of Rayo PDF GO you can convert up to 10 images per batch, enough for most official procedures: an ID, a receipt, a couple of certificates. If you need more, you can run several batches and then merge the resulting PDFs, although that step also has its own limits depending on your plan.
Premium costs $4.99 per month or $29.99 per year, with a 3-day trial on the annual plan, and removes the per-batch limits. It makes sense if you digitize documents often: an accountant scanning invoices, a student turning in assignments or a small business filing supporting documents. For occasional use, the free plan is usually enough.
Compared with other options, like printing to PDF from your photo viewer or emailing the images to yourself, the advantage of a dedicated tool is control: you choose the order, you review the result and you do not depend on whatever a generic program decides. And it all happens on your device, with nothing uploaded.
Final tips for documents that actually get accepted
Before sending, open it the way the recipient would: on a computer, full screen, at 100 percent zoom. If you can read the ID number, the date and the stamps without effort, the application should go through without problems. If you have to squint, retake the photos in better light.
Give the file a name that explains what is in it, like id-front-back or study-certificate-2026, instead of IMG_4521. Reviewers handle dozens of attachments and appreciate clarity, and you will be able to find the file months later without opening each one.
Lastly, always keep the original photos until the application is approved. If they ask for a lighter version or a different order, recreating the PDF from the original photos is far better than compressing one that has already been compressed.
Frequently asked questions
How do I convert several JPG photos into one PDF?
Open Images to PDF, select all the photos at once, put them in order and create the document. Each image becomes one page, in the order you set.
Does converting JPG to PDF reduce quality?
The conversion itself preserves the image. Quality only drops if you compress the PDF afterward, so it is best to try a medium level and check that everything is still readable.
Can I do it from my phone?
Yes. Rayo PDF GO is designed for phone and computer, and you pick photos straight from your gallery. The app stores are under review or in preparation; in the meantime you can use the web version.
Are my photos uploaded to the internet?
No. The conversion happens on your device and the files are not sent to any server.
How many images can I convert for free?
On the free plan, up to 10 images per batch. Premium removes that limit.
What should I do if the PDF is too big?
Run it through Compress PDF, start with a medium level and check that small text is still legible before sending it.
Keep reading
 GuideHow to Convert PNG to JPG Without Losing Quality (and When Not)
A guide to going from PNG to JPG: the real differences, how to cut file size without ruining the image, and wh…
Read article › GuideHow to Convert PDF to JPG: One Page or the Whole Document
Turn PDF pages into JPG images without uploading anything online: how to choose quality, what to do with long …
Read article › GuideHow to Convert Excel to PDF Without Tables Getting Cut Off
Turn your Excel sheet into a PDF with full columns, clean pagination and formatting intact. Practical guide wi…
Read article ›