 Rayo PDF GO
How to Reduce a Photo's File Size to Upload It to a Form
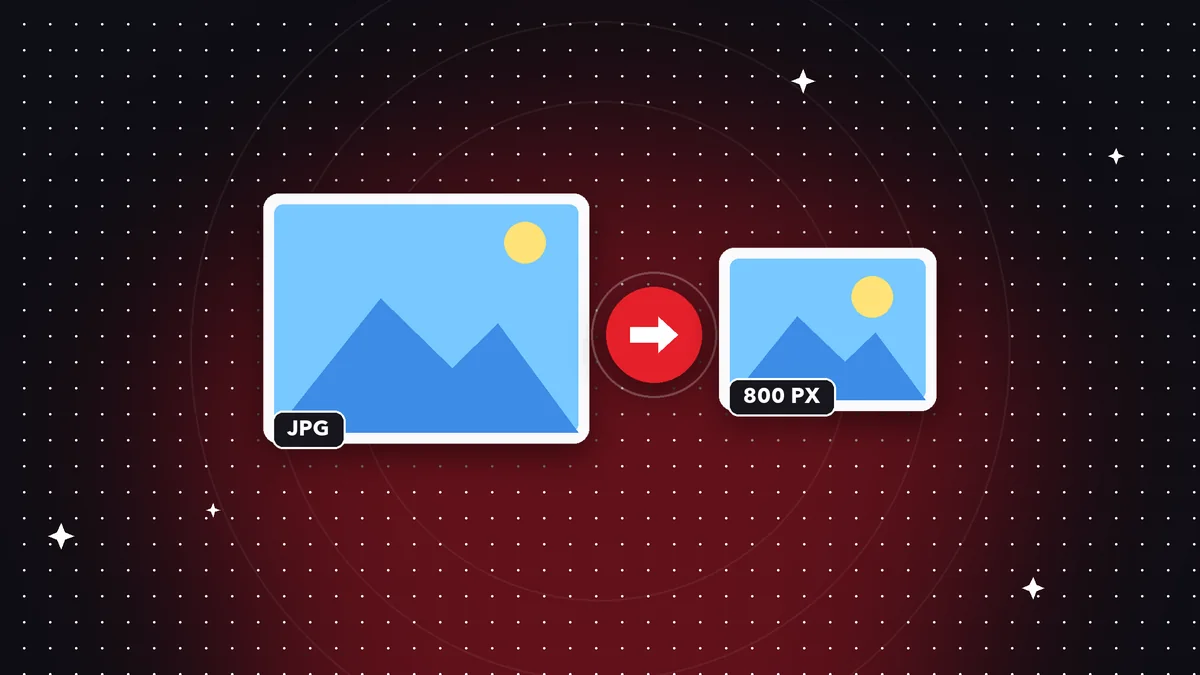
You upload your photo to a job application, a university portal, or a government form, and the usual message appears: the file exceeds the allowed size. You almost never need to retake the photo or ask anyone for help. What you need is to bring the file size down to the limit they ask for while making sure the face or text still looks good. Here is an orderly method, with examples of common limits and the exact steps to do it with Rayo PDF GO from your phone or computer.

Try it now: Resize Image
Choose your file and continue in the app. It is processed on your device, never uploaded to a server.
Why forms reject your photos
Government, job, and education platforms set file size limits to save space and speed up uploads. You'll see numbers like 100 KB, 200 KB, 500 KB, 1 MB, or 2 MB, depending on the field. They may also require a specific format, almost always JPG, and sometimes minimum or maximum dimensions in pixels.
The problem is that today's cameras produce files of several megabytes without you noticing. A photo taken with your phone can weigh dozens of times more than a form's limit, even though it looks perfectly normal on screen.
Before touching anything, read the form's message carefully. Sometimes the limit is on file size, sometimes on dimensions, and sometimes both. Knowing which saves you pointless attempts.
File size in KB vs. dimensions in pixels: they're not the same
File size is how much space the file takes up on your device, measured in KB or MB. Dimensions are the width and height of the image in pixels. They're related, since more pixels usually means a larger file, but they're controlled with different settings.
You have two levers for reducing file size. The first is reducing the dimensions: an image with fewer pixels weighs less. The second is lowering the compression quality: the file stores each pixel with less precision and becomes lighter.
If the form asks for an exact size in pixels, for example, you need to resize. If it only asks for a maximum file size, you can combine both levers or use compression alone.
Step by step: how to shrink the photo in Rayo PDF GO
1) Open Rayo PDF GO. On the web, go to rayopdfgo.com/app with your free account; in the apps, open the image tool.
2) Choose Resize image and select your photo. If the form asks for specific dimensions, enter them; if it only asks for a maximum file size, reduce the size to a reasonable value, for example half the original width.
3) If the file is still larger than allowed, go to Compress image and lower the quality little by little. Check the resulting file size after each attempt.
4) Save the file and upload it to the form. Your original photo isn't modified, so you can start over with other values if the system rejects it.
A practical recipe for the limit you've been given
For generous limits, like 1 or 2 MB, it's usually enough to reduce the dimensions a bit and use a high quality. The photo will look almost identical and pass without a problem.
For mid-range limits, like 200 or 500 KB, reduce the dimensions to a size that's comfortable for screens and apply a medium quality. This is the range where combining both levers makes the biggest difference compared with using just one.
For very strict limits, like 50 or 100 KB, you need to be more aggressive. Reduce the dimensions decisively and lower the quality, but check that the face or text is still recognizable. If it gets blurry, it's better to give up a little compression than risk having the photo rejected for being unclear.
What to do if the photo is of a document
When what you're uploading is an image of an ID card, a diploma, or an invoice, small text is the first thing to suffer. If you compress too much, the letters run together, and the system or the person reviewing it may reject the image as illegible.
Here it's best to keep the dimensions higher and lower the quality only as much as needed. Photograph the document straight on, in even light and without shadows, and crop off the extra edges so the content fills the whole frame.
If the procedure accepts PDF, it may be better to convert the photo to PDF and compress that file, since some portals handle documents better than loose images. Always check the portal's instructions.
If the portal keeps rejecting the file, read the error message again carefully. Sometimes the problem isn't the file size but the format, a file name with special characters, or a different aspect ratio than expected. Rename the file to something simple, with no accents or spaces, and try again. This small tweak fixes more rejections than you'd think.
Three real situations and how to solve them
A scholarship applicant has to upload her photo and a scan of her diploma, and the portal only accepts files up to 500 KB each. She reduces the diploma photo to reasonable dimensions, keeps a medium quality so the stamps stay legible, and uploads both without the system rejecting them.
A driver renewing a permit needs to attach a recent photo with a very low limit. Since the phone camera produces a huge file, he resizes to a small size first and only then adjusts the quality. In that order, he keeps the face sharp and meets the limit.
A person applying to several job postings has to upload a profile photo on each portal, each with a different limit. It pays to prepare two or three versions of the same photo, at different file sizes, and reuse them depending on what each form asks for.
Preparing versions ahead of time takes the pressure off when a procedure has a deadline.
Face photos: ID, profile, and resume
For ID or profile photos, the priority is that the face looks sharp. Light compression is usually enough, because faces have few areas of fine detail and tolerate file size reduction well.
Avoid over-cropping. Many forms require a certain amount of space around the head, so crop carefully and check the dimensions each procedure asks for before adjusting the file size.
One tip that helps: take the photo in good natural light. An image with little noise compresses better and keeps its quality at a smaller size than one taken at night with a flash.
Alternatives, and why it's better to do it on your device
There are several ways to shrink a photo: asking someone more experienced, using your phone's built-in editor, or turning to an online site. All three work in some cases, but they have limits.
The phone's editor rarely lets you control the exact file size, and asking for help means sending a personal document over chat. Online sites usually ask you to upload the file to a server, which is not advisable with identity data.
A tool that processes on your own device gives you the best of both: control over dimensions and quality, an immediate result, and no file traveling across the internet.
Mistakes that make the form reject the photo
The most common mistake is renaming the file to change the extension, for example from PNG to JPG, thinking that changes the format. It doesn't: the content is still the same, and the portal may reject it. Convert the format for real.
Another frequent mistake is compressing several times. Each lossy compression degrades the image. Always start from the original and adjust once with the right value.
It also happens that the size is reduced so much that the photo falls below the minimum required in pixels. Check whether the portal also asks for minimum dimensions, not just maximum ones, before accepting the final version.
Privacy: protect your data while you reduce the file size
Photos for official procedures often contain very sensitive data: your face, your ID number, your signature. Uploading them to just any site only to shrink them adds a risk you don't need to take.
With Rayo PDF GO, processing happens on your device and the files are not uploaded to any server. That means your ID photo travels only once, directly to the official portal where you need it.
As good practice, delete intermediate copies when you finish the procedure, and don't share unprotected versions of identity documents over chat.
Frequently asked questions
How do I reduce a photo to 100 KB?
First reduce the dimensions to a moderate size, then lower the quality until the file size is under 100 KB. Check that the face or text is still sharp.
Does reducing the file size change the size in pixels?
It depends on the adjustment. Compressing lowers the file size without changing the pixels; resizing changes the pixels and, as a result, the file size.
What format do most forms accept?
JPG is the most common, although some accept PNG or PDF. Read the portal's instructions to be sure.
Are my photos uploaded to a server to shrink them?
No. Rayo PDF GO processes images on your device.
Can I shrink several photos at once?
Yes. The free plan has a limit of up to 10 images per batch; Premium removes the limits.
Do I lose quality when I reduce the file size?
With moderate compression the loss is barely noticeable. If the limit is very strict, you'll sacrifice some quality, which is why you should keep the original.
Keep reading
 GuideHow to Resize Photos for Social Media Without Distorting Them
Common sizes for Instagram, Stories, YouTube, and more, plus how to adjust photos without stretching them or c…
Read article › GuideHow to Crop a Photo: Easy Guide with Aspect Ratios and Tips
Learn how to crop a photo on your phone or computer: aspect ratios, the rule of thirds, when to crop tight, an…
Read article › GuideHow to Rotate or Flip an Image: Fix Sideways Photos
Photo sideways, upside down, or mirrored? Learn the difference between rotating and flipping, why it happens, …
Read article ›