 Rayo PDF GO
How to Resize Photos for Social Media Without Distorting Them
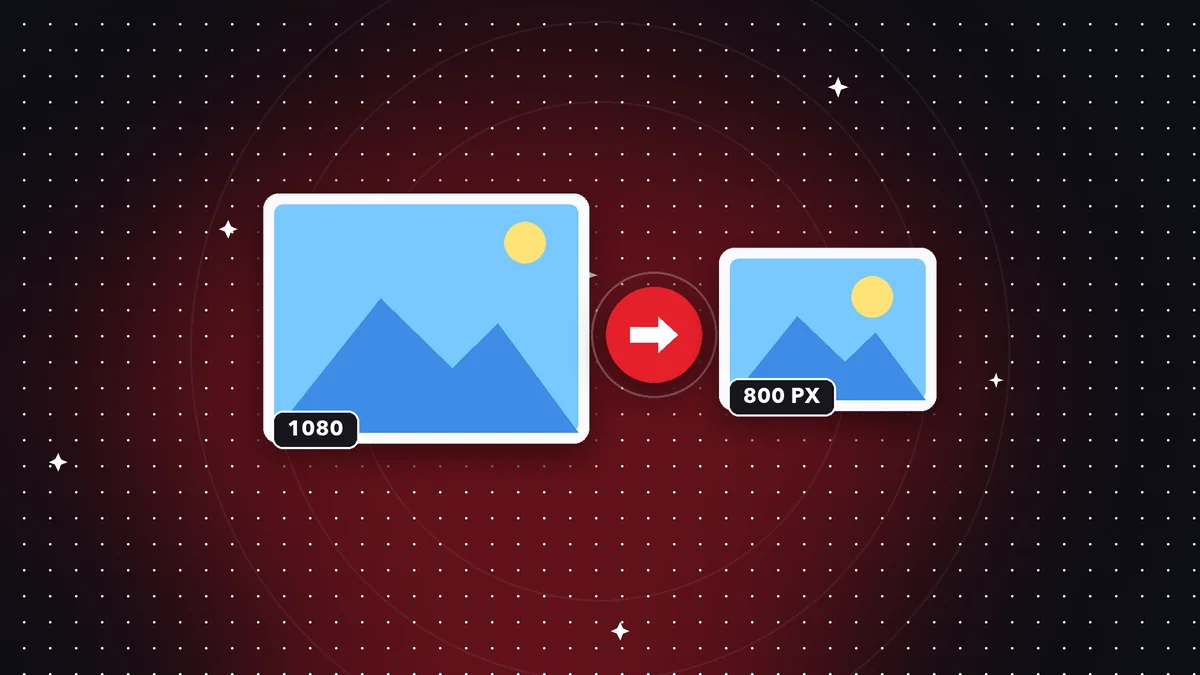
You upload a photo and the social network crops it exactly where it shouldn't: the head cut off, the text chopped, black borders everywhere. Almost always the problem is the same: the image doesn't have the aspect ratio the platform expects. Resizing it before you post puts you in control of what shows. In this guide we go over the most-used aspect ratios and sizes, how to avoid distortion, and how to adjust your photos step by step with Rayo PDF GO, without uploading them to any server.

Try it now: Resize Image
Choose your file and continue in the app. It is processed on your device, never uploaded to a server.
Why social networks crop or compress your photos
Each platform has preferred formats, and when your image doesn't fit, it adjusts it on its own: it crops the edges, adds bars, or compresses it heavily. That automatic adjustment doesn't know where the important part is, so it often cuts off faces, logos, or text.
On top of that, many networks recompress every image you upload to save space. If you start from a giant or very heavy photo, the final result can look worse than if you had prepared it yourself at a suitable size.
Preparing it beforehand has a double benefit: you decide what gets cropped, and you avoid depending on each platform's algorithm for the framing.
The aspect ratios you'll use most
An aspect ratio is the relationship between width and height. The square 1:1 is used for classic posts, for example 1080 by 1080 pixels. The vertical 4:5, such as 1080 by 1350, takes up more screen space in phone feeds.
The vertical 9:16, such as 1080 by 1920, is the format for stories and short videos. The horizontal 16:9, such as 1280 by 720, is the one for video thumbnails. For link previews, an image of about 1200 by 630 pixels is usually used.
These numbers are approximate: platforms update their recommendations over time. Check the current size on the network itself before an important post.
If you're unsure which to choose, vertical 4:5 is a safe bet for feed posts because it makes better use of the phone screen, while square looks good both in the feed and in the profile grid.
Step by step in Rayo PDF GO
1) Open the Resize image tool. On the web, go to rayopdfgo.com/app with your free account; on your phone or computer, use the app.
2) Select the photo and choose the new dimensions. To avoid distortion, keep the original aspect ratio locked and change only the width or the height.
3) If you need a different aspect ratio, for example going from horizontal to vertical, resize first and then use Crop image to frame what matters in the new format.
4) Save the result. Your original photo stays untouched, and you can generate several versions, one for each network, from the same file.
One last quality tip: if you're posting an image with lots of text, like an ad or an infographic, check that the letters are big enough to read on a phone. What looks perfect on a computer can end up illegible on a small screen, and there's no way to fix it once it's posted other than deleting it and uploading again.
How to avoid stretched or squashed photos
Distortion appears when you force a width and height that don't respect the photo's aspect ratio. Circles turn into ovals and faces look odd. To avoid it, change only one dimension and let the other be calculated automatically.
If the photo doesn't have the aspect ratio you need, don't stretch it: crop it. Trimming part of the edges is always better than distorting all of the content.
A practical trick: before cropping, identify the main subject and make sure it stays within the central area. In vertical formats, leave a margin at the top and bottom, because networks often overlay buttons and text in those areas.
When you have to shrink an image a lot, do it in a single step from the original. Reducing in several small stages doesn't improve the result and can accumulate a loss of sharpness.
One photo, several formats
If you post on more than one network, don't use the same image for everything. Create a square or 4:5 version for the feed, a 9:16 one for stories, and a 16:9 one if you need a cover or thumbnail. Starting from the original file each time avoids losing quality.
A handy workflow is to take the photo with room around the subject, meaning a bit wider than you think necessary. That way you have space to crop to different aspect ratios without cutting off anything important.
For catalogs, teams, or campaigns, save the versions with clear names, for example with the network and the size in the file name. It will spare you confusion when you post several times a month.
Three real use cases
A small clothing store photographs its garments horizontally with a phone. For the feed it needs 4:5 versions and for stories 9:16 versions. It resizes the photo to a width of 1080 pixels, crops each aspect ratio from the same file, and posts a consistent series without reshooting anything.
A video content creator needs a 16:9 thumbnail for each post. They start from a frame grab of the video, resize it to 1280 by 720, and check that the thumbnail text isn't near the edges, where the platform overlays the video's duration.
A neighborhood association wants to share photos from an event in a group chat. The original images weigh several megabytes and chats recompress them badly. By shrinking them to a moderate width first, they arrive faster and look better on everyone's phones in the group.
In all three cases the method is the same: decide the target format, start from the original, adjust the aspect ratio, and check the result before posting.
Size in pixels vs. file size
Resizing changes the pixels; the file size changes as a result. A photo 1080 pixels wide weighs much less than one 4000 wide, and for a phone screen it is more than enough.
Uploading excessively large images doesn't improve the quality your audience sees; it only lengthens the upload and lets the platform recompress in its own way. A size designed for screens usually looks cleaner.
If after resizing the file is still heavier than you want, finish the process with Compress image. With both adjustments you get lightweight files that keep good sharpness.
How this compares with editing inside the social network
The editors built into social networks are handy for a quick fix, but they have clear limits: they offer few aspect ratios, don't let you set exact sizes, and apply their own compression at the end. You don't know exactly what you're uploading.
Preparing the image separately gives you exact sizes, saved versions you can reuse, and the peace of mind of controlling the framing. It also lets you review the photo calmly before it goes public, which is especially useful for professional work or for brands.
You don't have to replace one method with the other. Many users prepare the image in a separate tool and then make the final touch-ups inside the social network.
Common mistakes when preparing images for social media
Putting text too close to the edge is the classic: when you crop to the format, the phrase disappears. Always leave a safe zone around text and logos.
Another mistake is uploading screenshots as if they were photos. They tend to have long aspect ratios and lots of small text, and when recompressed they look blurry. Crop them down to the essentials and put them in a clear format.
It's also common to reuse an image that has already been compressed many times, such as a photo you downloaded from a chat. Whenever you can, start from the camera's original file for the best result.
Privacy and working offline
Many online tools require uploading photos to a server, which is uncomfortable if you work with client images, photos of minors, or products not yet launched. With Rayo PDF GO, processing happens on your device and the files are not uploaded to any server.
On the free plan you can work with batches of up to 10 images, enough to prepare a set of posts; if you manage many accounts, Premium removes the limits.
And remember that posting a photo means checking what it shows: license plates, addresses, or documents in the background. If something shouldn't be visible, use Pixelate before sharing it.
Frequently asked questions
What size should a photo be for Instagram?
Common sizes are 1080 by 1080 for squares and 1080 by 1350 for vertical 4:5; for stories, 1080 by 1920. Always check the platform's current recommendation.
How do I change the size without distorting the photo?
Keep the original aspect ratio and change only the width or the height. If you need a different aspect ratio, crop instead of stretching.
Does resizing lower the quality?
Reducing the pixels makes the image smaller, but it looks sharp at its new size. Enlarging a photo does make it look blurry, because there's no extra information.
Can I prepare photos for several networks from the same file?
Yes. Start from the original and create one version for each format, cropping to each aspect ratio.
Are my photos uploaded to a server?
No. Processing happens on your device.
Why does my photo look blurry when I post it?
It's usually because it was too small, heavily compressed, or the network recompressed it. Prepare a version at the right size and with good quality.
Keep reading
 GuideHow to Crop a Photo: Easy Guide with Aspect Ratios and Tips
Learn how to crop a photo on your phone or computer: aspect ratios, the rule of thirds, when to crop tight, an…
Read article › GuideHow to Rotate or Flip an Image: Fix Sideways Photos
Photo sideways, upside down, or mirrored? Learn the difference between rotating and flipping, why it happens, …
Read article › GuideHow to Add a Watermark to Your Photos: Complete Free Guide
Protect and sign your photos with a text or logo watermark: where to place it, what opacity to use, and what m…
Read article ›